How to Do Keratin at Home: The Complete Step-by-Step Expert Guide
Lip Store.euShare
What if you could achieve the same smooth, frizz-free, salon-worthy hair at home — without the appointment, without the waiting time, and without the salon price tag? Applying keratin at home is entirely possible, and when done correctly with the right products and technique, the results are genuinely impressive. This guide walks you through everything you need to know to do keratin at home safely, effectively, and with professional-level results.
At-home keratin treatments have evolved significantly. Today's professional-grade formulas available for home use are formulated to deliver real structural repair, long-lasting smoothness, and intense shine — making the at-home keratin experience a legitimate alternative to the salon for those who know what they are doing.
What You Need Before You Start
Preparation is the single most important factor in a successful at-home keratin treatment. Skipping or rushing the preparation phase is the most common reason home treatments deliver disappointing results. Before you begin, make sure you have everything in place.
Essential tools and products:
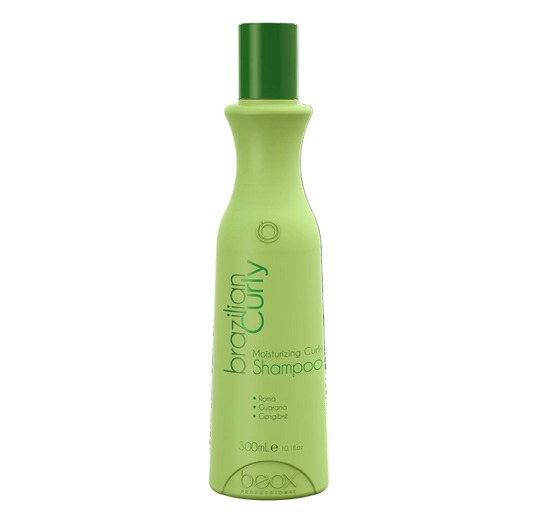
- A professional-grade at-home keratin treatment kit or formula
- A clarifying or deep-cleansing shampoo (no conditioner before treatment)
- A professional flat iron capable of reaching 230°C / 450°F with consistent heat control
- A fine-tooth comb and sectioning clips
- Protective gloves and adequate ventilation in the room
- A microfibre towel for gentle drying
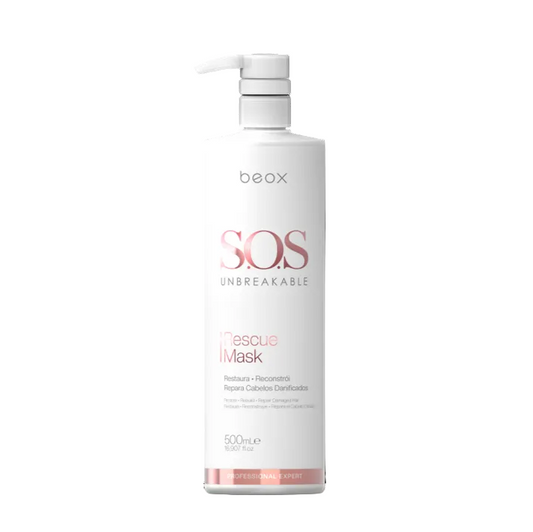
- A sulphate-free shampoo and keratin-compatible conditioner for aftercare
Do not underestimate the role of ventilation. Even formaldehyde-free keratin products release fumes during the flat iron step. Always perform the treatment in a well-ventilated space or with a window open.
How to Do Keratin at Home: Step-by-Step Process
Step 1 — Wash with a Clarifying Shampoo
Start by washing your hair with a clarifying or deep-cleansing shampoo — not your regular shampoo. The goal is to strip away all product build-up, silicones, oils, and residue that would prevent the keratin formula from penetrating the hair shaft effectively. Wash once, rinse thoroughly, and do not apply conditioner. Your hair must be completely clean and free of any coating.
Step 2 — Towel Dry and Section the Hair
Gently towel dry your hair until it is damp but not dripping. Divide the hair into four main sections — two at the front and two at the back — and secure each section with clips. Working in sections ensures even, thorough application and prevents the formula from drying before it is properly distributed.
Step 3 — Apply the Keratin Formula
Put on your gloves. Beginning with the bottom sections at the back of the head, apply the keratin formula using the applicator bottle or a fine-tooth comb. Work through each section methodically, coating every strand from approximately one centimetre from the scalp to the ends. Do not apply directly to the scalp. Ensure every strand is saturated — this is where thoroughness makes the difference between average and exceptional results.
Allow the formula to process according to the manufacturer's instructions. Most at-home keratin treatments require between 20 and 45 minutes of processing time. Do not rinse unless the specific product instructs you to do so.
Step 4 — Blow Dry the Hair
Once the processing time is complete, blow dry your hair thoroughly using a round brush. The goal at this stage is to remove all moisture from the hair before the flat iron step. Work section by section, directing airflow downward to begin smoothing the cuticle in the right direction.
Step 5 — Seal with a Flat Iron
This is the most critical step in the entire process. Set your flat iron to the appropriate temperature — typically between 200°C and 230°C (390°F–450°F) for most hair types. For fine or damaged hair, use a lower heat setting. Pass the flat iron over each small sub-section slowly and smoothly, at least 8 to 10 times per section, to thoroughly seal the keratin into the hair shaft. Work with thin sections — no more than one to two centimetres wide — to ensure complete heat penetration and an even result.
Take your time at this step. Rushing the flat iron phase is the single most common cause of uneven or short-lived results from at-home keratin treatments.
Step 6 — Leave the Hair Down and Straight
Once the flat iron step is complete, leave your hair completely straight and loose. Do not tie it, clip it, tuck it behind your ears, or allow it to bend into any shape. The keratin is still bonding to the hair shaft during this phase. Any crease or bend created in the hair at this stage will be locked in permanently for the duration of the treatment.
Step 7 — Wait Before the First Wash
Most professional at-home keratin formulas require a waiting period of 48 to 72 hours before the first wash. During this window, keep the hair completely dry and straight. Avoid humidity, perspiration, and any contact with water. When the waiting period is over, wash with a sulphate-free shampoo only — never a standard shampoo after a keratin treatment.
Choosing the Right At-Home Keratin Products
The quality of the products you use will determine the quality of the results you get. Not all at-home keratin treatments are created equal. Professional-grade formulas designed for home use — available from specialist hair care brands — consistently outperform generic retail alternatives in terms of smoothness, longevity, and hair health impact.
When selecting your at-home keratin treatment, look for:
- Formaldehyde-free or DMDM hydantoin-free formulas for safety
- Hydrolysed keratin as a primary active ingredient
- Amino acids and botanical proteins to support structural repair
- Clear instructions for home use, including processing time and heat recommendations
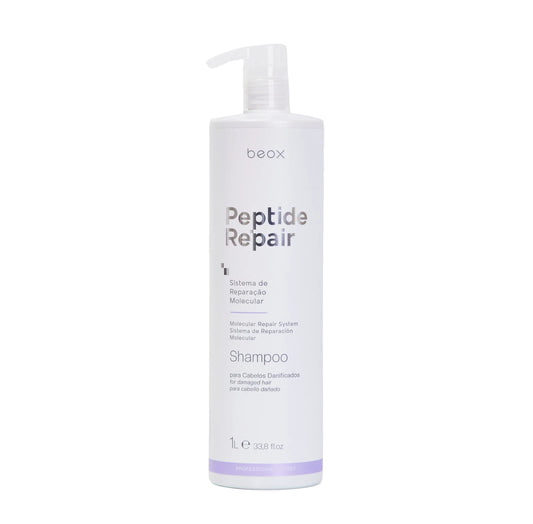
- A compatible aftercare system (sulphate-free shampoo and keratin conditioner)
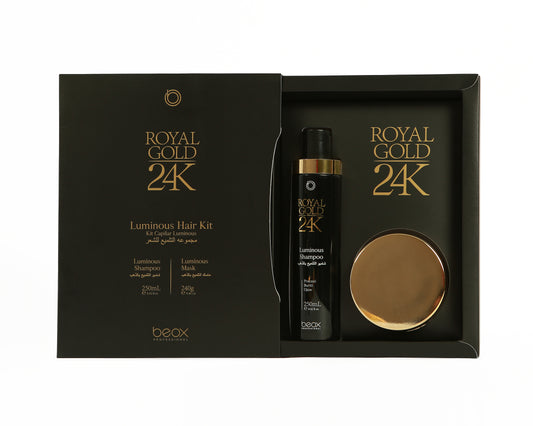
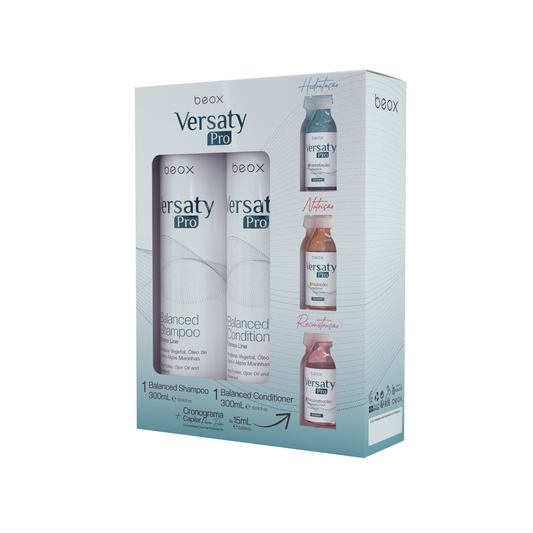
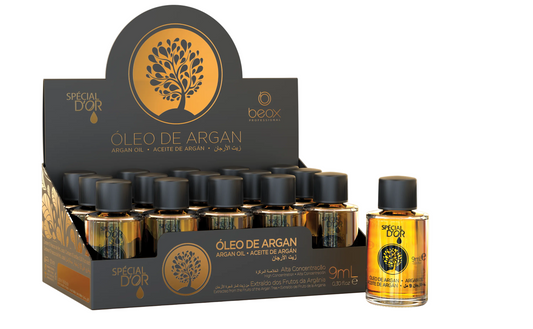
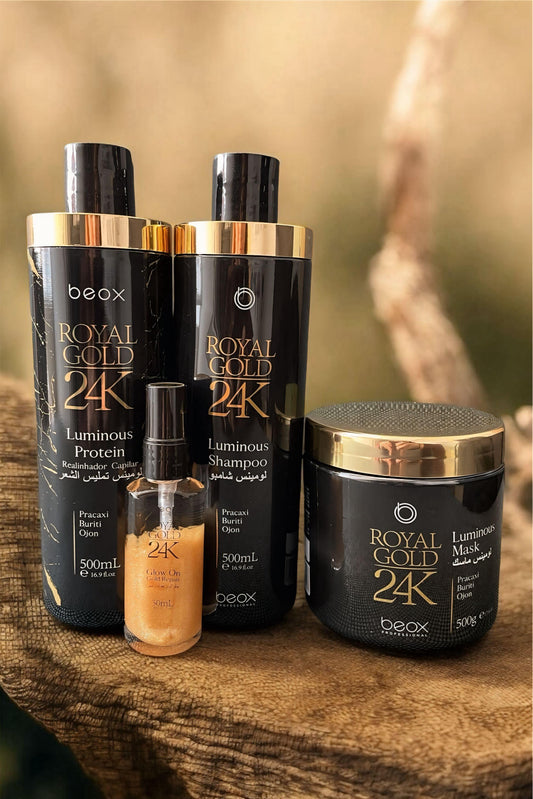
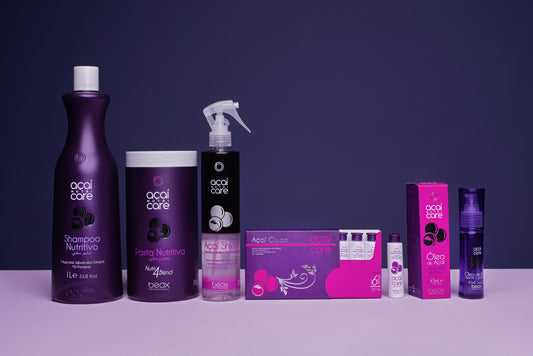
For the best outcome, explore our curated range of professional keratin treatment products formulated for both salon and home use. Pairing your treatment with the right professional hair care products for maintenance will significantly extend your results and protect your investment.
Common Mistakes to Avoid When Doing Keratin at Home
Even with the right products and good intentions, certain mistakes can compromise your results significantly. Knowing what to avoid is just as important as knowing what to do.
- Skipping the clarifying shampoo: Without a deep cleanse, the keratin formula cannot penetrate properly, resulting in uneven or short-lived smoothing.
- Applying conditioner before the treatment: Conditioner creates a barrier that blocks formula penetration. Always start with completely clean, conditioner-free hair.
- Using too low a flat iron temperature: Insufficient heat means the keratin is never properly sealed into the shaft, and results will fade rapidly.
- Working with sections that are too thick: Large sections prevent the flat iron heat from reaching all strands evenly, leaving patchy results.
- Washing too soon: Washing within the 48 to 72-hour window removes the keratin before it has fully bonded, dramatically reducing longevity.
- Using a sulphate-containing shampoo after treatment: Sulphates aggressively strip keratin from the hair, cutting the treatment lifespan significantly.
How Long Does At-Home Keratin Last?
With a professional-grade formula and correct application technique, an at-home keratin treatment can last between four and eight weeks — and potentially longer with proper aftercare. This is shorter than a full in-salon treatment, which typically lasts two to four months, but represents a highly cost-effective way to maintain smooth, manageable hair between professional appointments.
The key variables that determine longevity are:
- The quality and concentration of the keratin formula used
- The precision and thoroughness of the flat iron sealing step
- The frequency of washing — less frequent washing extends results
- The use of sulphate-free, keratin-safe maintenance products
- Avoiding chlorine exposure and excessive heat styling
Frequently Asked Questions
Can you do a keratin treatment at home by yourself?
Yes. With the right professional-grade formula, the correct tools, and a careful approach to each step, an at-home keratin treatment is entirely achievable by yourself. The key is preparation, patience, and not rushing the flat iron sealing phase. Results may not match a full salon treatment in duration, but the smoothing and frizz-reduction effects are real and significant.
How often can you do keratin treatment at home?
Most at-home keratin treatments can be repeated every four to eight weeks, once the previous treatment has faded. There is no strict limit to frequency, but it is important to use a nourishing formula that supports hair health rather than over-processing the hair. Always allow your hair to fully recover between applications if you notice any signs of dryness or weakness.
Is at-home keratin safe for colour-treated or bleached hair?
Yes, provided you use a formaldehyde-free formula. Keratin treatments are generally compatible with colour-treated hair and can actually help preserve colour vibrancy by sealing the cuticle. However, for heavily bleached or very porous hair, opt for a gentler formula with a lower heat recommendation, and perform a strand test before full application.
Do I need a professional flat iron for at-home keratin?
A professional-quality flat iron with consistent temperature control is strongly recommended. Consumer flat irons with unstable heat settings can result in uneven sealing and patchy results. Aim for a flat iron that reaches and maintains at least 200°C (390°F) with ceramic or titanium plates for even heat distribution.
What is the difference between at-home keratin and salon keratin?
Salon keratin treatments use higher-concentration professional formulas that penetrate more deeply and last longer — typically two to four months. At-home treatments use lower-concentration, consumer-safe formulas that last four to eight weeks. Both deliver genuine smoothing and frizz-reduction results, but the salon treatment offers greater intensity, precision of application, and longevity.