How to Clean and Maintain Your Hair Tools: The Complete Professional Guide
Lip Store.euShare
Most people invest in high-quality hair tools and then quietly let them degrade — collecting product residue, mineral buildup, and heat damage that silently destroy performance. Learning how to clean and maintain your hair tools properly is not optional maintenance; it is the single most impactful thing you can do to protect your investment, preserve your hair's health, and ensure every styling session delivers the results you paid for.
Whether you are a salon professional running multiple tools daily or a consumer who relies on a flat iron and a blow dryer at home, the principles are the same: clean tools perform better, last longer, and protect the hair far more effectively than neglected ones.
Why Cleaning and Maintaining Hair Tools Matters More Than You Think
Every time you use a styling tool, it collects a layer of product residue — heat protectants, serums, hairsprays, and oils — that bakes onto the plates, barrels, and vents under high heat. Over time, this buildup creates an uneven heating surface, forces you to use higher temperatures to achieve the same results, and transfers contamination directly onto your hair.
Neglected tools also accumulate mineral deposits from water, oxidised metal particles, and degraded coatings — all of which compromise the tool's performance and, more importantly, your hair's integrity. A dirty flat iron drags rather than glides. A clogged blow dryer overheats and shortens its own motor life. A product-coated curling wand creates unpredictable curl patterns and dull results.
Professional maintenance eliminates all of these issues — and extends the functional lifespan of your tools by years, not months.
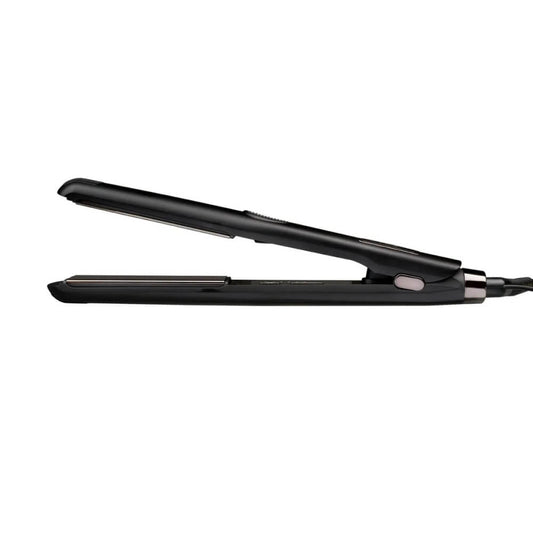
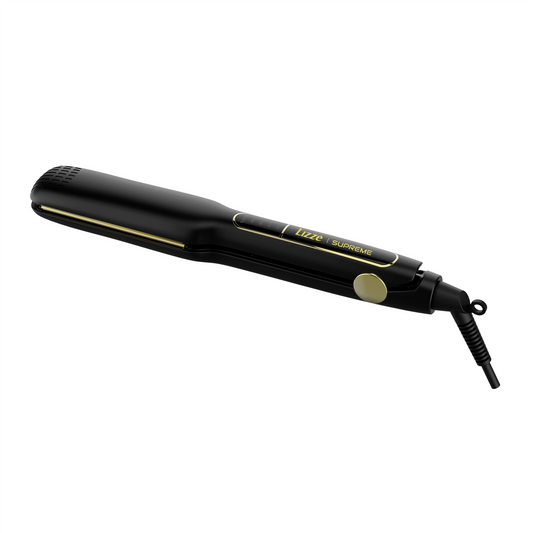
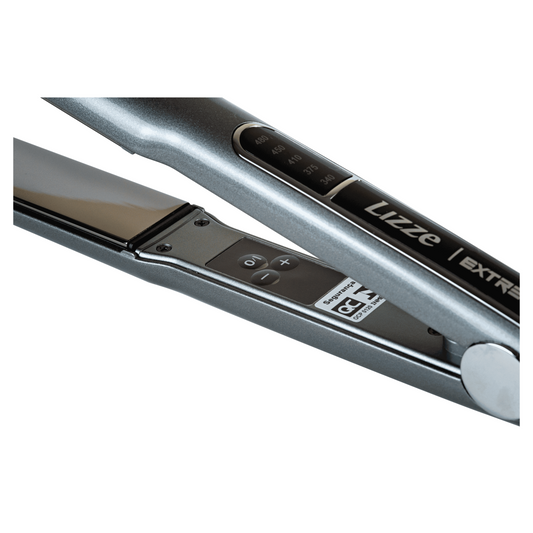
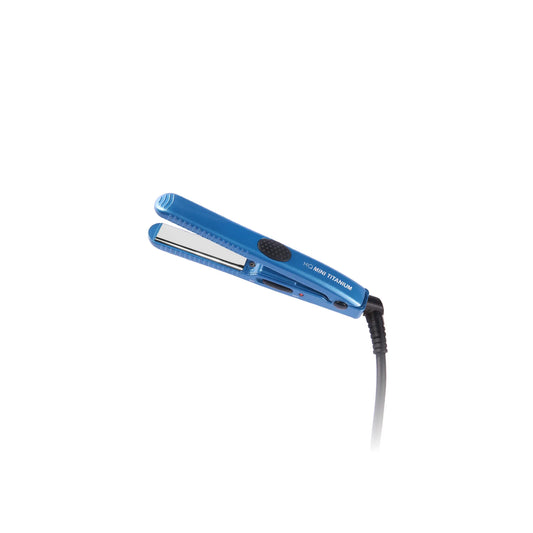
How to Clean a Flat Iron or Hair Straightener
The flat iron is the tool most vulnerable to product buildup, as its plates are in direct and sustained contact with styled hair. Here is the correct cleaning protocol:
- Always clean when cool: Never attempt to clean a flat iron while hot. Switch it off, unplug it, and allow it to cool completely before touching the plates
- Use a damp microfibre cloth: For light buildup, a microfibre cloth lightly dampened with water or isopropyl alcohol is sufficient to wipe the plates clean — move in a single direction along the plate length to avoid scratching
- For heavy residue, use a specialist plate cleaner: Apply a small amount of professional plate cleaner or a paste made from bicarbonate of soda and water to a soft cloth; gently rub the plates until the residue lifts, then wipe clean with a damp cloth
- Never use abrasive materials: Steel wool, rough sponges, or abrasive pads will permanently scratch ceramic, titanium, or tourmaline plates, destroying the smooth glide that makes them effective
- Clean the edges and hinge: Product often accumulates in the hinge and along the plate edges — use a cotton bud dampened with isopropyl alcohol to clean these areas carefully
- Dry completely before storage: Any residual moisture on the plates can cause rust or damage the coating — wipe dry with a clean, dry cloth and allow a few minutes of air drying before closing the tool
If you want to understand how to get the best results from your straightener beyond cleaning, the professional method for using a hair straightener without damage covers technique, temperature selection, and sectioning in full detail.
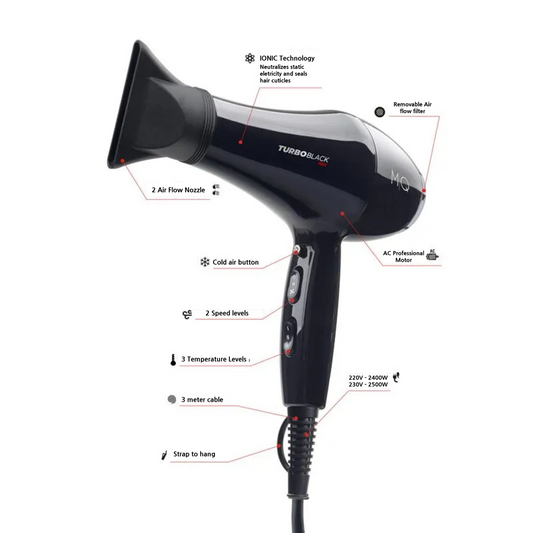
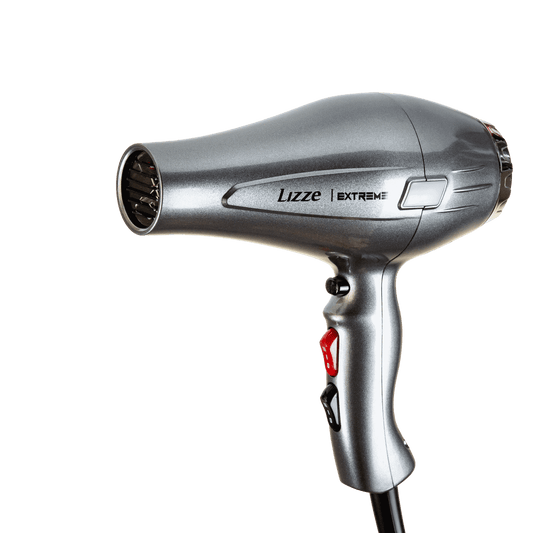
How to Clean a Blow Dryer
The blow dryer is the most frequently neglected tool in any kit — yet it is the most affected by particulate buildup. Lint, dust, shed hair, and product particles accumulate in the air intake filter at the back of the dryer, restricting airflow, causing overheating, and dramatically shortening motor life.
- Remove and clean the filter regularly: Most professional blow dryers have a removable filter at the rear intake. Remove it and use a soft brush, dry toothbrush, or lint roller to remove accumulated debris — this should be done at minimum once a week for daily professional use
- Never immerse in water: The blow dryer contains electrical components — never run it under water or expose the body to liquids
- Wipe the exterior with a damp cloth: Use a cloth lightly dampened with water or a mild disinfectant to wipe the handle, body, and nozzle attachments
- Check and clean the nozzle attachments: Concentrator nozzles and diffuser attachments accumulate product residue and should be wiped down after each use and deep cleaned weekly
- Inspect the cord regularly: Check for fraying, kinking, or damage at the plug end and where the cord enters the dryer body — damaged cords are both a fire hazard and a sign the tool needs professional servicing
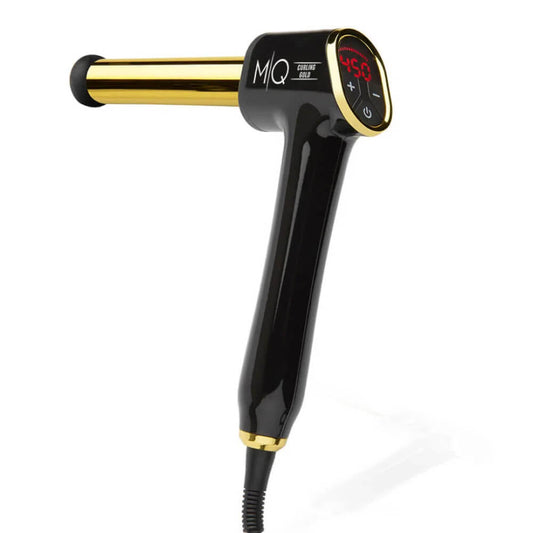
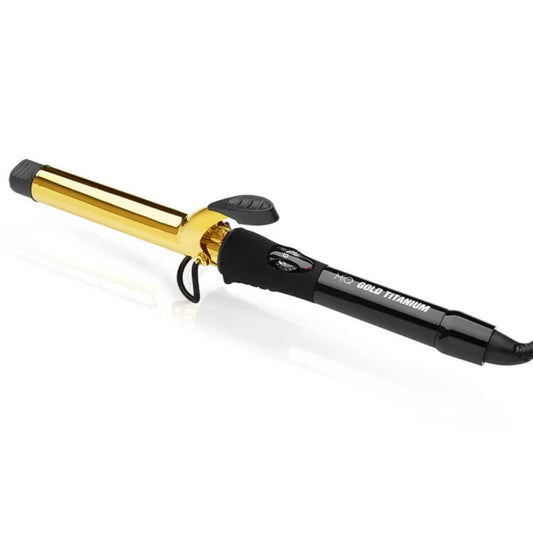
How to Clean a Curling Iron or Wand
Curling irons and wands accumulate product residue on their barrels in a different pattern to flat irons — the heat causes products to caramelise and harden into a sticky, brown coating that degrades both the barrel surface and styling results.
- Wait until completely cool: As with all tools, cleaning must only be done when the barrel is fully cooled and the tool is unplugged
- Use isopropyl alcohol for regular cleaning: Dampen a cotton pad or soft cloth with isopropyl alcohol (70% or higher) and wipe the barrel firmly — the alcohol dissolves product residue without damaging the barrel coating
- For caramelised buildup, warm the tool briefly: Some professionals warm the tool to a low temperature (not hot to the touch) to soften hardened buildup before wiping — this can make stubborn residue easier to remove; always allow to cool again fully before final cleaning
- Clean the clamp mechanism: On traditional curling irons, the clamp collects product and can stick or leave marks — clean both sides of the clamp with a damp cloth or alcohol-dampened cotton bud
- Inspect the barrel for scratches or coating wear: Damaged barrel coatings can snag and break hair — if the barrel surface is compromised, it is time to replace the tool
How to Clean and Maintain Hot Brushes and Styling Combs
Hot brushes, thermal combs, and volumising tools combine heat with direct contact with hair fibres, making them especially prone to product and hair residue accumulation within the bristles or teeth.
- Remove tangled hair after every use: Use a tail comb or a dedicated brush cleaning tool to remove shed hair from the bristles or teeth before the next use — never allow hair to bake onto the tool under heat
- Clean bristles with a mild shampoo solution: For natural bristle brushes, a diluted shampoo solution applied with a soft toothbrush cleans between the bristles effectively — rinse with a damp cloth and allow to dry completely flat
- Use alcohol for plastic or metal bristles: Isopropyl alcohol on a cloth or cotton pad removes product buildup from synthetic bristles and metal teeth without damaging the heat elements
- Never submerge in water: Hot brushes contain heating elements and wiring — submerging them in water will destroy the tool and create a serious safety hazard
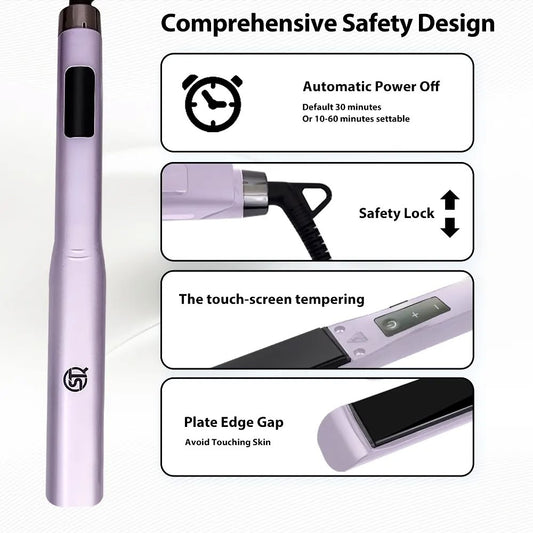
Storage Best Practices for Professional Hair Tools
How you store your tools between uses has a significant impact on their longevity and performance. Poor storage habits introduce physical damage, accelerated cord wear, and contamination that shortens tool life considerably.
- Always allow tools to cool completely before storing: Storing a warm tool — particularly in a bag or case — causes heat to concentrate, potentially damaging the case lining and accelerating coating degradation on the tool itself
- Use heat-resistant storage pouches or stands: Professional tool rolls, heat-resistant pouches, and dedicated storage stands protect tools from physical impact and keep cords organised without stress bending
- Never wrap the cord tightly around the tool body: Tight cord wrapping causes internal wire stress at the bending points — over time, this leads to internal breakage that creates intermittent faults or complete failure
- Store flat irons closed but not locked shut: Storing plates pressed hard together can create pressure marks on the coating — store with a heat mat or silicone protective sleeve between the plates if possible
- Keep tools away from moisture: Bathrooms are high-humidity environments — wherever possible, store professional tools in a dry area to prevent oxidation, rust, and electrical component damage
The Role of Heat Protection in Tool Maintenance
Tool maintenance does not exist in isolation — the products you apply to hair before using any heat tool directly influence how quickly residue builds up and how much contamination transfers to your tools. Using the right heat protection products is as much about protecting your tools as it is about protecting your hair.
Low-quality heat protectants with high alcohol content evaporate quickly and leave behind concentrated residue that bakes onto plates and barrels within seconds. Professional-grade formulas provide thermal protection without leaving heavy deposits, reducing the frequency and intensity of cleaning required. If you are unsure which approach is right for your clients or your hair type, the professional perspective on whether you really need heat protection addresses the science, the misconceptions, and the professional recommendation in full.
Professional Maintenance Schedule: A Practical Guide
Consistent maintenance requires a schedule, not just intention. Here is a professional framework for tool care that works for both salon environments and personal use:
- After every use: Wipe plates, barrels, and bristles with a dry or lightly damp cloth; remove shed hair from brushes and combs; allow to cool fully before storage
- Weekly: Deep clean plates and barrels with isopropyl alcohol or specialist cleaner; clean blow dryer filter; inspect cords and housings for wear
- Monthly: Check all coatings for scratches, chips, or uneven wear; test tool temperature accuracy with a thermometer if available; inspect hinges and clamps for smooth operation
- Every 6 to 12 months: Consider professional servicing for high-use salon tools; replace tools showing significant coating degradation, overheating, or electrical irregularities
When to Replace Rather Than Maintain
Even the best-maintained tools have a finite lifespan. Knowing when to invest in replacement rather than continued maintenance is an important part of professional practice — both for the quality of results and the safety of the person using or being styled with the tool.
Replace a hair tool when: the coating is visibly scratched, chipped, or peeling; the tool no longer reaches or holds its temperature consistently; the cord is damaged, kinked, or shows any signs of fraying; the tool produces unusual smells, sounds, or sparks; or results have noticeably declined despite proper technique and clean tools. Selecting the right replacement requires understanding what each tool is engineered to do — the complete expert guide to the best tools for professional hair styling covers every category in detail, from plates and dryers to brushes and wands, with professional recommendations for every use case.
Frequently Asked Questions
How often should I clean my hair straightener?
For daily personal use, wipe the plates after every session with a dry cloth and deep clean with isopropyl alcohol or a specialist plate cleaner once a week. In a professional salon environment where the tool is used on multiple clients daily, a thorough clean at the end of every working day is essential to maintain hygiene and performance standards.
Can I use water to clean my flat iron plates?
A cloth lightly dampened with water can be used to wipe plates for light residue, but the plates must be completely dry before the tool is switched on or stored. For heavier product buildup, isopropyl alcohol is far more effective than water and evaporates quickly without leaving moisture on the plates. Never run water directly over a flat iron or immerse any part of the tool in liquid.
Why does my blow dryer feel weaker over time?
In most cases, a blow dryer that has lost airflow power has a clogged intake filter. Remove the rear filter and clean it thoroughly — this single action often restores full motor performance immediately. If airflow does not improve after cleaning the filter, the motor may be nearing the end of its service life, and replacement should be considered.
Does dirty residue on my styling tools damage my hair?
Yes — significantly. Baked-on product residue creates an uneven, contaminated heating surface that transfers old product directly onto clean hair during styling. This residue oxidises under heat and can cause discolouration, dryness, and in severe cases, chemical damage to the hair fiber. Keeping tools clean is as much about hair health as it is about tool performance.
How do I know when my hair tool coating is too damaged to use?
A damaged coating is identified by visible scratches, chips, or uneven texture on the plates or barrel surface. Run a finger lightly across the surface — a smooth, even finish indicates the coating is intact; any roughness, drag, or visible flaking means the tool should be replaced immediately. A damaged coating snagging hair during styling is the most common sign that a tool has reached the end of its usable life.